Category: Free Inquiry

This is the category to apply to your Free Inquiry posts.

Reflection on learning to crochet

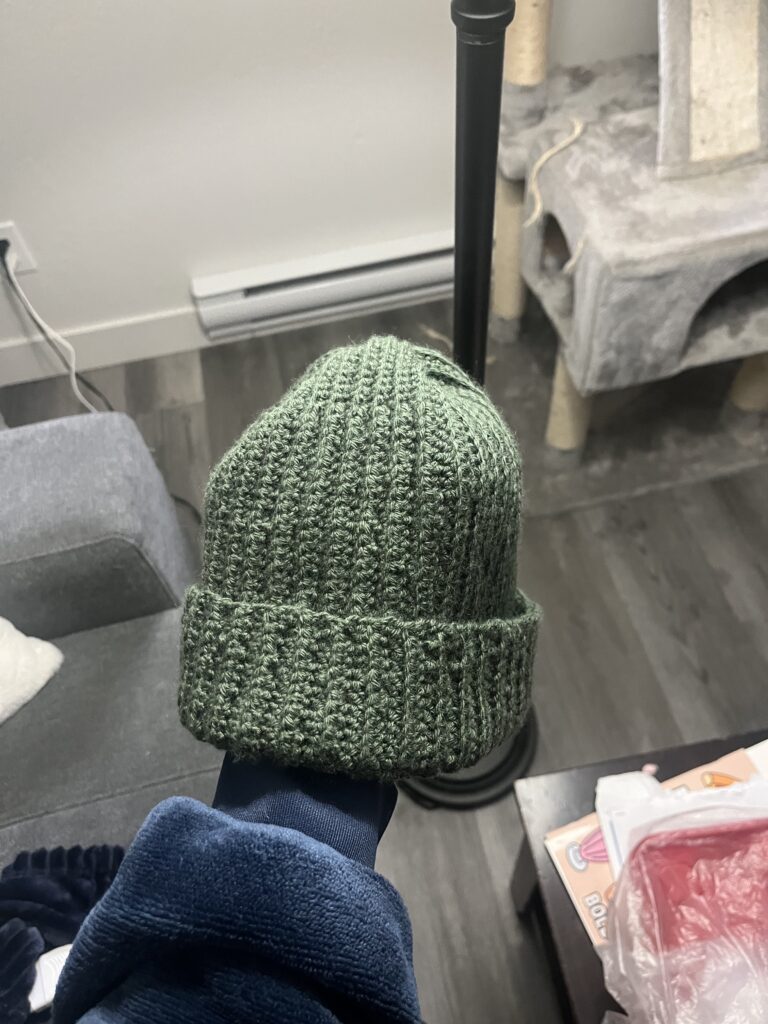
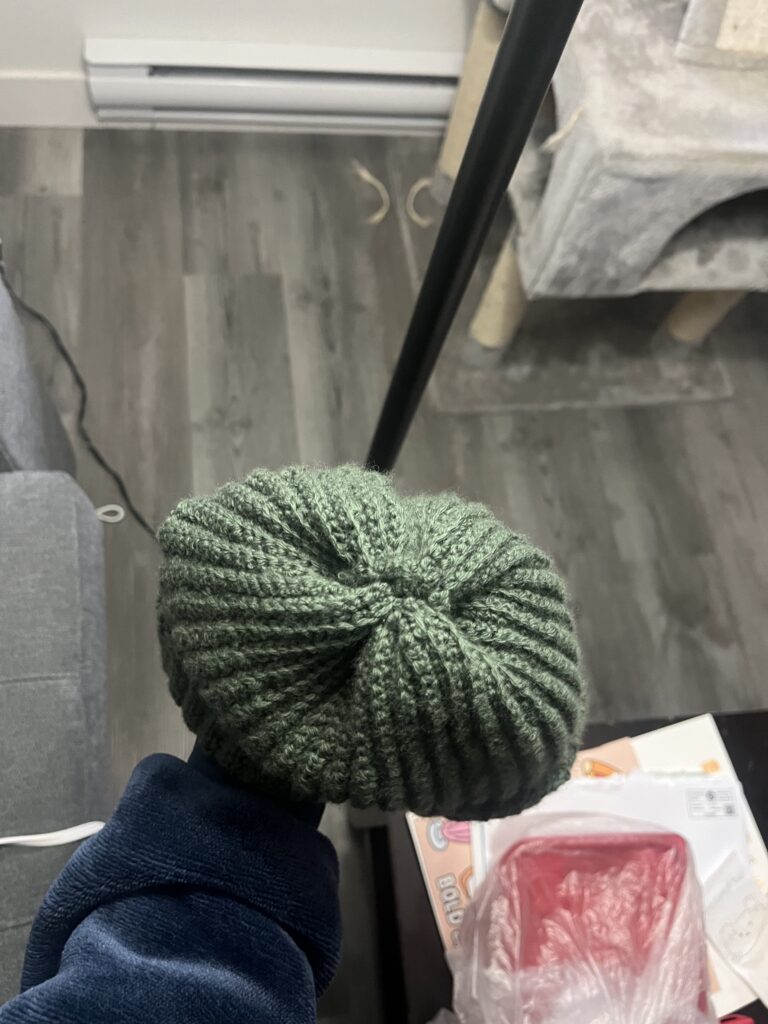
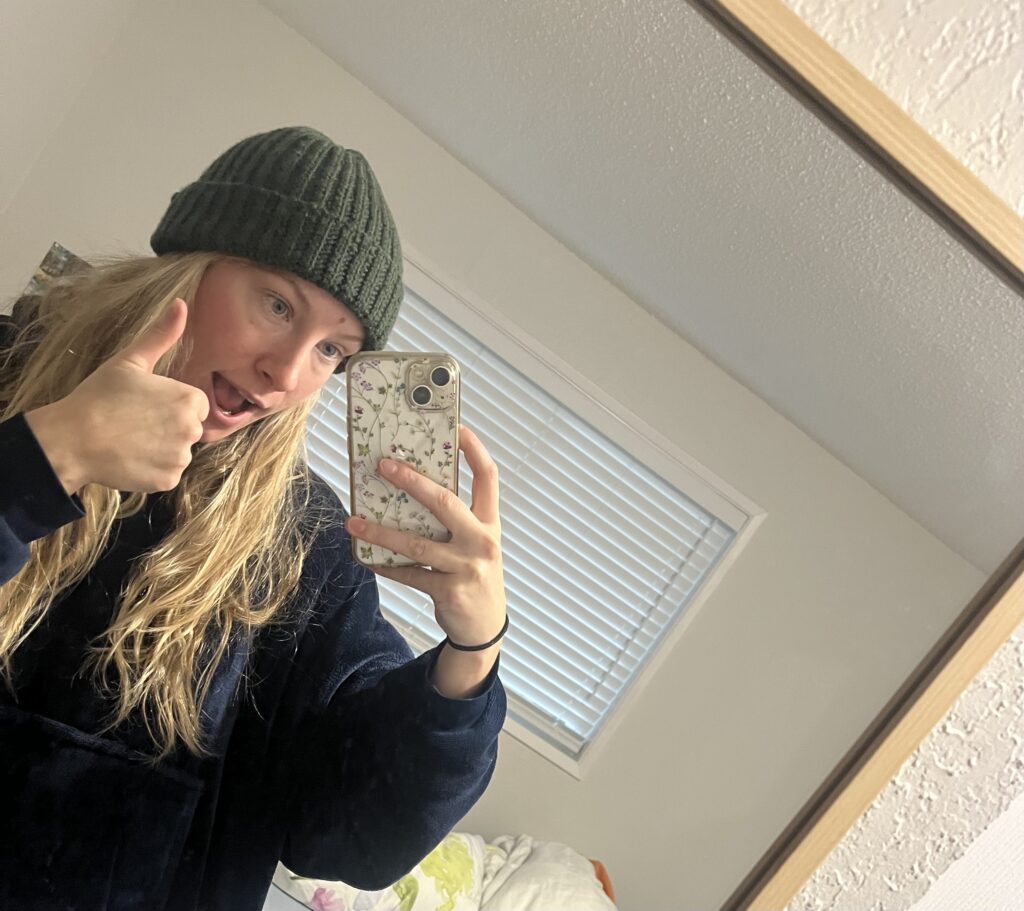
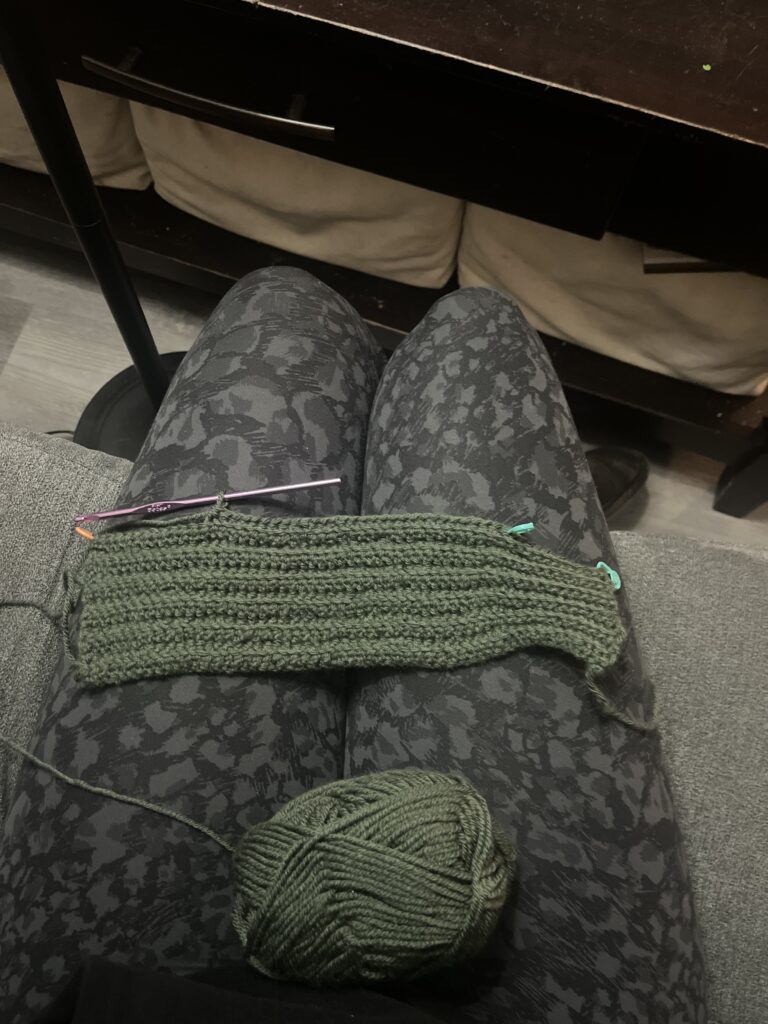
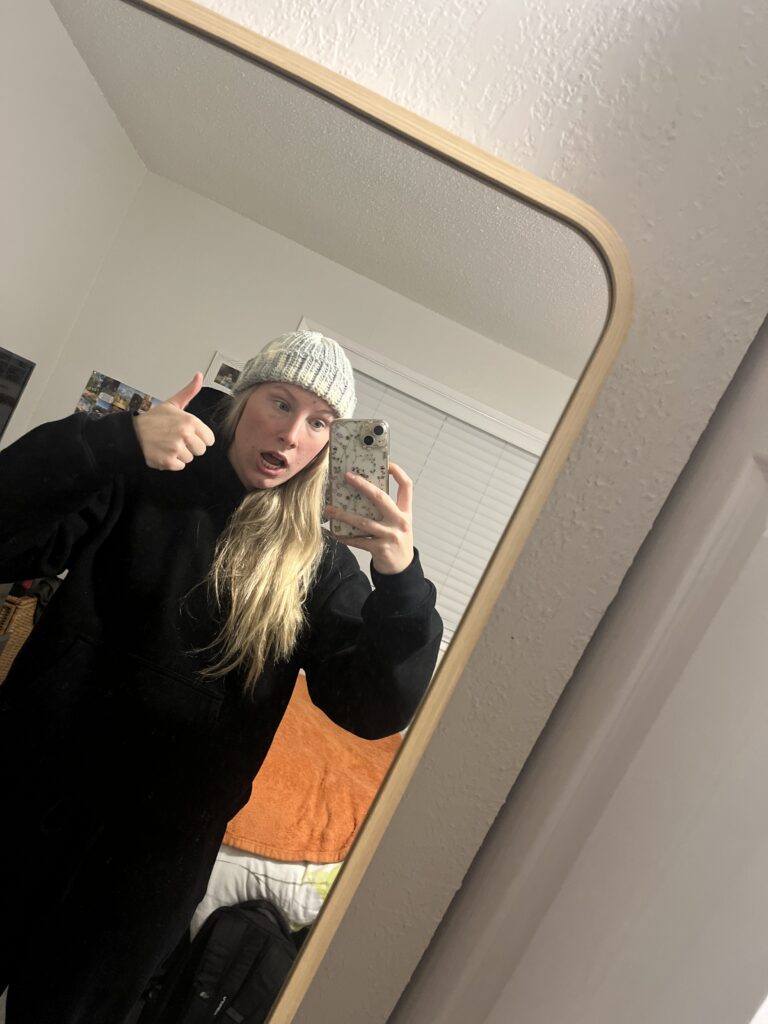
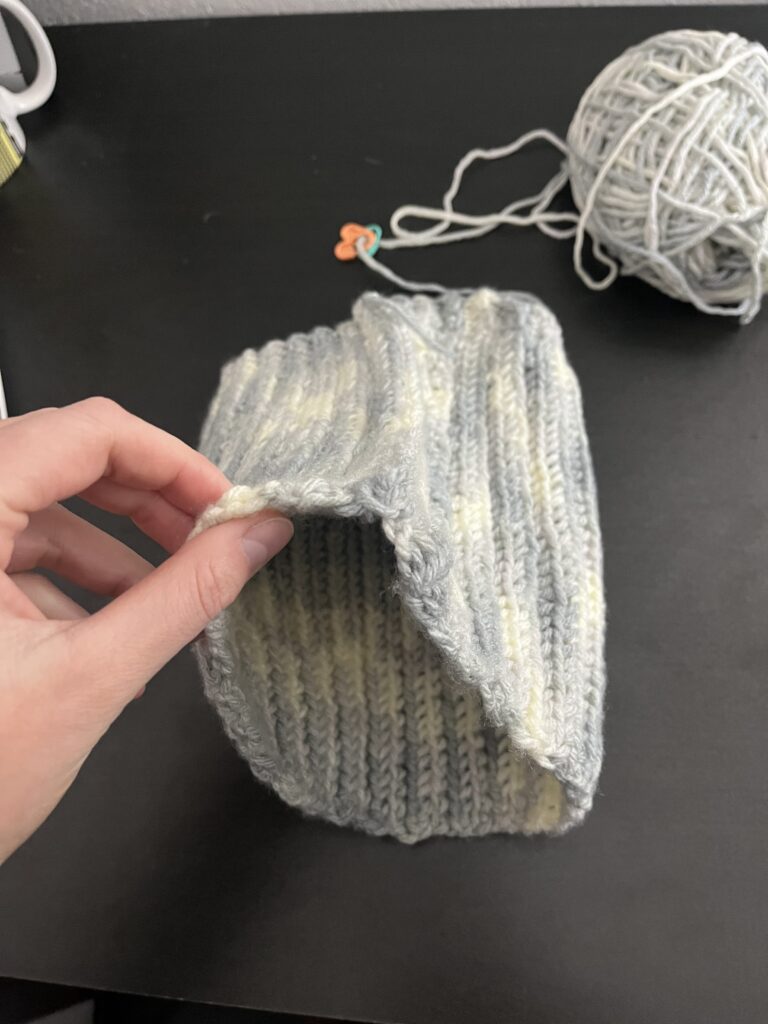
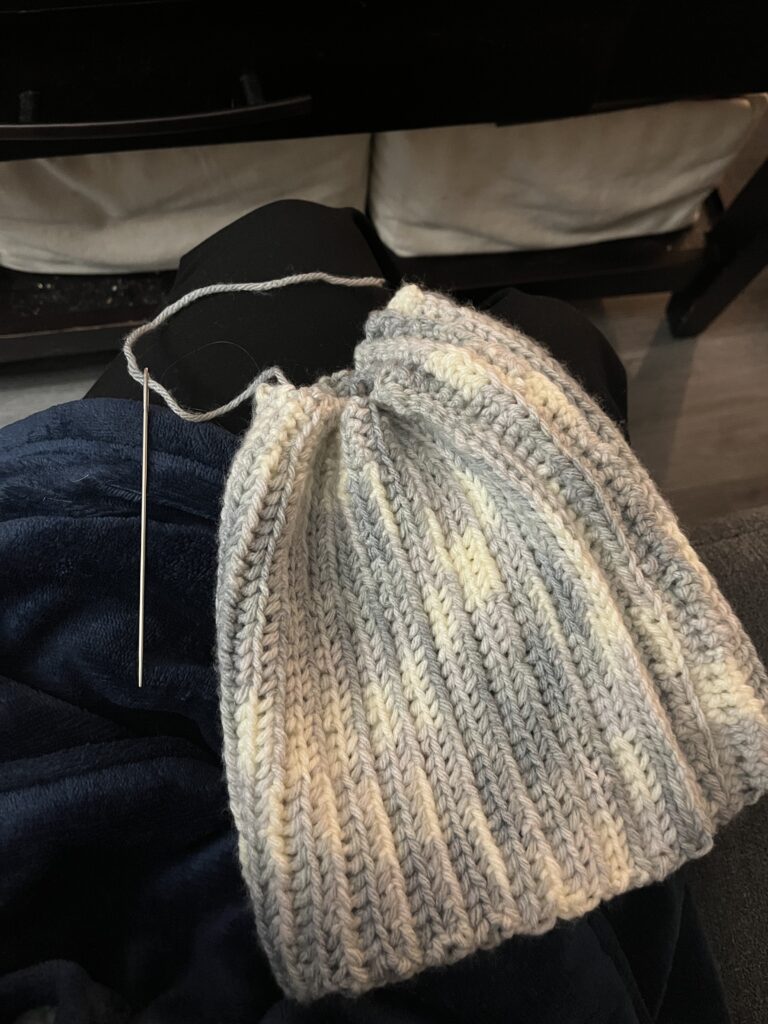
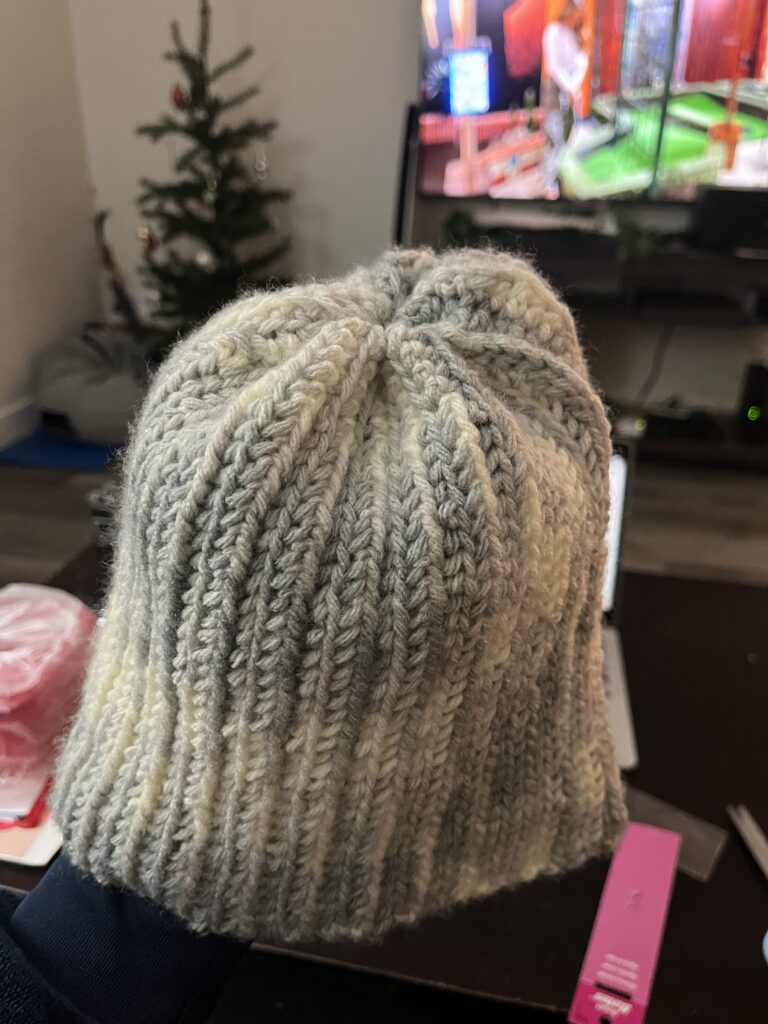
I’ve really enjoyed this learning process! It gave me an opportunity to try something new, which I often don’t do. Before this I never thought crocheting is something I would do, or enjoy doing. At the beginning I found it so confusing and challenging and was not sure if I’d be able to do it successfully, and now here I am with two completed toques under my belt! Who would’ve thought.

I’ve found that crocheting is an awesome hobby to help pass the time (for example if travelling) or a great way to keep your hands busy instead of scrolling on your phone when watching a movie or listening to music.

I learned a lot and I plan to continue learning how to crochet more things and learn new types of stitches. And who knows, maybe in a couple years I’ll try my hand at knitting.

Some crochet projects I want to try in the future are:

  • a scarf
  • a blanket
  • a granny square bag
  • crochet flowers
  • a sweater
  • striped toques

I made a Pinterest board to get inspired. I’ll probably keep adding to it as I find more cool things!

Overall, it’s been a blast and I’m grateful this inquiry assignment gave me a small push to try something new! It’s the end of these posts but definitely not an end to the crocheting!

Byeeeeeee.

Another toque done!

This weekend I went back to the yarn store to get another thing of yarn and they still had my colour in stock, which I was very excited about! I brought it home and went to start joining the two ends of my toque together but I couldn’t really remember how to do it. I re-watched the video I’ve been using (you can find it in one of my first posts if interested) but I couldn’t really tell if I was doing it right and didn’t want to mess up because it’s a gift. Luckily I was meeting up with Halle on Saturday evening and she was able to help remind me of what to do, so I joined the two parts together that evening.

Fast forward to the next morning, the 23rd, aka the day the toque needed to be completed by (cutting it a little close). I woke up early to make sure I had time to get the toque done in time butttt when I went to do the final step: cinching the top together, I realized I had joined the two sides the wrong way and my string was on the opposite side that it needed to be on to cinch up the top. So I had to completely unravel the stitches I made on Saturday evening and do that part all over again, good practice! I re did it and stitched up the top with no more incidents. Here’s what it looked like all done!!

And here’s what it looked like on me, you’ve gotta test out the product before you give it away right??

I’m really happy how it turned out. I think the stitches look pretty uniform and the cinching looks much better than last time. I can really see my improvements in comparison to the last toque and I’m proud! I gave it to the recipient and they were really happy with it, it fit them well which I was a bit worried about at the start.

All together a huge success!

I’m a toque making pro

Behold toque number 2:

This where I am currently at with toque number 2. I am super proud of how it is coming together, I think the lines look really neat and I have been consistently counting my stitches! If I was making this toque for me, I’d already be ready to move on to the final assembly, however, I’m making this for someone with a big old noggin and so I still need to keep crocheting more (ugh-I’m getting tired of green).

Right now I’m at a slight road bump, I assumed that this would take me two skeins of yarn (100 grams), however as a mentioned it is still too small and I’m all out of yarn *GASP*. Soooo this week I have to go back to the yarn store and pray that they have more of this yarn in stock, if not things are going to get interesting. The toque needs to be completely finished by next Sunday, so still on schedule at the moment, hoping this current lack of yarn doesn’t throw a wrench in the timeline.

Updates after I complete Mission: Find More Yarn.

Toque 2 update

I’ve been working away on my new toque and its going pretty good so far!

Now that I’ve gotten a bit further in crocheting this toque, it is easier to see where the single and double stitches are. I’m quite happy with how it is looking and I’ve had no major issues. The goal is to have this toque completed by the 23rd, so I need to pick up the pace in the next two weeks and put aside some serious time to work on this thing. I plan to spend at least a little time each day working on it.

On a slightly separate note, I have also started to follow a couple instagram accounts for future inspiration. It’s been super cool to see all the interesting things you can make with crochet. One page I like in particular is @cosmaudi , here’s a little preview of her page if you wanted to search her up.

Not much more to say right now. More updates coming soon.

Round 2 on toque creation

As mentioned in a previous post, I wanted to make another toque, using what I learned from the first one to improve in several ways. The ways I aim to improve are:

  1. use a better quality yarn (not only acrylic)
  2. count my stitches
  3. use stitch markers right from the start

To start I went to an actual yarn store (instead of just Michaels). I asked some friends where some good stores are and one of the suggested stores was Beehive Wool Shop. They had so many different colours and types of yarn, it was super cool!

I ended up picking this really nice green shade that was 100% merino wool. Marino wool is a lot softer than normal wool and is better at moisture wicking than acrylic (I’ve been told). Because of all its wonderful qualities it is also unfortunately more expensive – these rounds were about $13 each. I bought two rounds because I need around 100 grams to make my toque.

I then got started making it!

Note the stitch markers already in use:)

Because I’m not making this toque for me, I’m making it as a gift, I had to adjust the number of overall stitches to fit a bigger head, as well as the number of single stitches. It’s hard to see right now but it’ll be clearer as I get more rows done. As well, because this yarn is thinner than my last, I had to switch crochet hooks. I am now using this pretty purple one as seen in the photo which is a 4mm hook.

That’s all for now!

Testing Out My Toque

Since my toque was done being crocheted, the final step was to test it out! Yesterday we had our cohort’s intramural soccer game of the week (at 10pm yuck) which was the perfect opportunity to wear it there, so I could be warm before we started playing. Here’s some pictures of it that I captured, featuring some members of the team!

The toque successfully kept my very warm. I did find that it got a bit itchy after a while but I think this is because I used fairly cheap acrylic yarn, I plan to get a better quality of yarn for my next toque. Overall, a success!

It’s done!

This week I worked on finishing up my toque. The first thing I had to do was crochet together the two ends to make a tube. Then I went out and bought a knitting needle to bunch together the top. The bunching was quite a quick process, and then I just used the needle to sew together the top a bit to make sure there were no small holes where everything came together. And ta daaaaa it’s done!! I made my first ever crochet project! (reflection below)

While I am super proud of myself for making the toque, there are some flaws with it. I am planning to start on another toque, using what I have learned to improve the second time around. The main thing is making sure I use stitch markers right from the beginning and counting my stitch rows every so often. Doing both these things will help make sure that my rows are all the exact same length. When it came time to bunch this toque together, it was challenging and it looks a bit lumpy at the top because my first several stitch rows are around 6-7 stitches more. Not only that, but this resulted in my toque being much less deep than I had intended. While it still fits, the brim is not as wide as I had hoped and it sits higher up on my head than intended. Thus, counting my stitches and using stitch markers will be incredibly beneficial. I am excited to use what I have learned from making this one to make an even better toque!

Tune in next week for an update on how using my toque (in real day to day life!) goes and the following weeks to see the start of my next toque project.

Picking Up Speed

This week I kept moving on my crochet. I feel like I’ve really started to get in a rhythm with it and have begun to know what I need to do to properly crochet my toque. In this first image, at the beginning of the week, I was using two crochet markers to mark the area where I move to single stitches but I found that I was still not certain on the other side where my final stitch was before flipping it and going back across.

By Wednesday, in this second image, I added in a third stitch marker to help with knowing fully when I got to my final stitch. This helped a lot and I was able to pick up the speed a bunch. At this point, the crocheting was starting to become fun and I began looking forward to working on my toque. I no longer had to pay as much attention to what I was doing and began being able to watch TV while crocheting.

This is where I got to by Saturday night! As you can see I have made a lot of progress. I think by reading break I will be done with this part and be able to begin the final steps of creating my toque. This process has been quicker than I thought and I am looking forward to the idea of maybe starting another crochet project after this.

Updates soon! Hopefully with a final toque reveal!

Starting My Toque!

Starting my toque has been a bit of a bumpy start, as learning something new often is. Last weekend I returned to Michael’s and bought proper stitch markers. I also asked my friend if she had any videos that she watched when she made her first toque. She showed me this one below which I have decided to use as my primary guide when constructing my hat:

After watching this video, I practiced my single and double stitches for a while and then began crocheting the actual toque. I found that following the video, without any guidance from an actual human when I had questions or concerns was very tricky. I got a decent amount started, as you can see below, but then decided to stop until I could show my friend and get feedback because the stitches were looking a bit wonky.

Once I showed my friend she informed me that is was indeed very wonky, and I had to unravel the entire thing and start over. We then went over the stitches again (which I had been doing entirely wrong) as well as what to do when you get to the end of the row and want to start a new one. Her feedback was super helpful and has led me to where I am currently at with the toque today:

While progress is slow, I think I am starting to get the hang of it. Over the next couple weeks I want to keep working on the toque, focusing on remembering to count my stitches (which I always forget to do!) and getting faster. I expect to make more mistakes so stay tuned for the next blunder!

Until next week!

Project Prep

Photo by Merylove Art on Unsplash

For my inquiry project I have decided that I want to learn how to…**drum roll**…crochet! Yay! My goal is to be able to successfully crochet a toque by the end of the EDCI 336 course. I have no previous experience crocheting, knitting, or anything related, and am excited to try to learn a new skill.

To prepare myself for my Inquiry Project I spoke to two of my friends who both have experience crocheting. From these conversations I learned about the tools that I would need (crochet hooks of various sizes, yarn, and a stitch marker) and that making a toque would be a reasonable goal to start with. From there I ventured to Michaels to collect my supplies. I bought a crochet hook set with 6 hook sizes and a roll? bunch? ball? of yarn in the super exciting colour grey! I asked about the stitch marker but the worker did not know what I was talking about (not-so-subtle foreshadowing here) so I did not get one.

Once I had my supplies gathered my next step was to watch a youtube video on crocheting a toque. I watched this one: https://www.youtube.com/watch?v=XhjtiuwEss8. It became apparent very quickly that I should have also watched the video before I shopped, because I soon learned that a stitch marker is not a drawing marker/pen but rather a clip that “marks” your spot. I’m already learning new things! No wonder the worker had no idea what I was talking about! I plan to return to Michaels in the next few days to retrieve said crochet markers and then I will try my hand at beginning the toque.

Excited to see where this learning journey take me next. Till next time.