I’ve really enjoyed this learning process! It gave me an opportunity to try something new, which I often don’t do. Before this I never thought crocheting is something I would do, or enjoy doing. At the beginning I found it so confusing and challenging and was not sure if I’d be able to do it successfully, and now here I am with two completed toques under my belt! Who would’ve thought.
I’ve found that crocheting is an awesome hobby to help pass the time (for example if travelling) or a great way to keep your hands busy instead of scrolling on your phone when watching a movie or listening to music.
I learned a lot and I plan to continue learning how to crochet more things and learn new types of stitches. And who knows, maybe in a couple years I’ll try my hand at knitting.
Some crochet projects I want to try in the future are:
a scarf
a blanket
a granny square bag
crochet flowers
a sweater
striped toques
I made a Pinterest board to get inspired. I’ll probably keep adding to it as I find more cool things!
Overall, it’s been a blast and I’m grateful this inquiry assignment gave me a small push to try something new! It’s the end of these posts but definitely not an end to the crocheting!
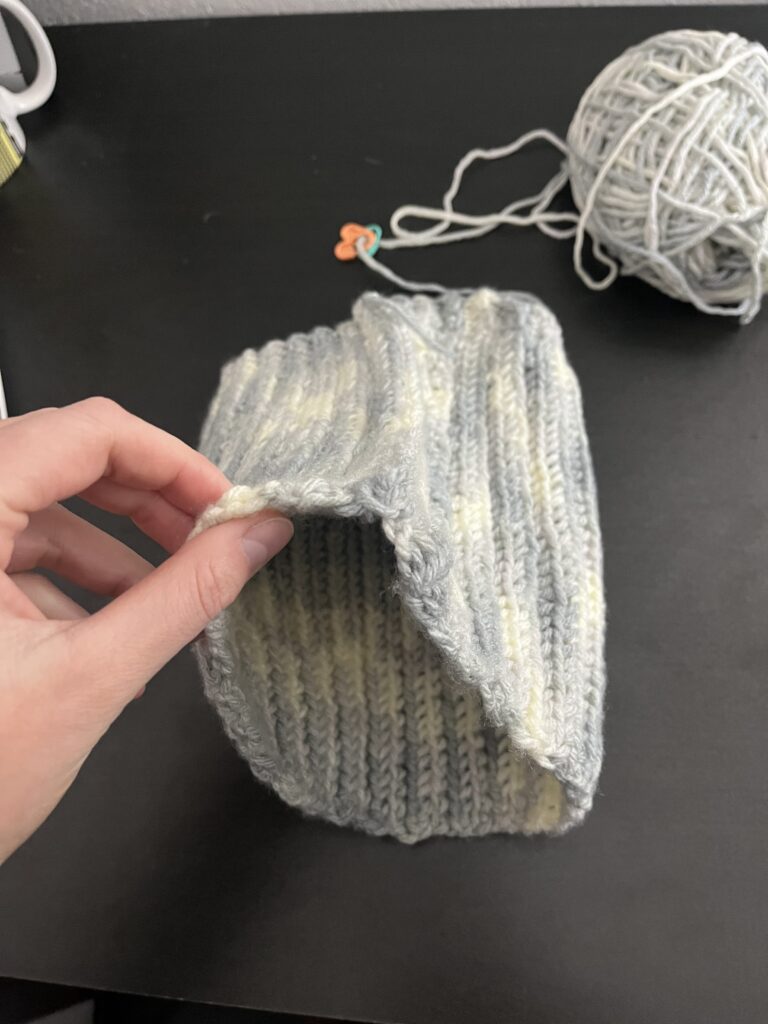
This weekend I went back to the yarn store to get another thing of yarn and they still had my colour in stock, which I was very excited about! I brought it home and went to start joining the two ends of my toque together but I couldn’t really remember how to do it. I re-watched the video I’ve been using (you can find it in one of my first posts if interested) but I couldn’t really tell if I was doing it right and didn’t want to mess up because it’s a gift. Luckily I was meeting up with Halle on Saturday evening and she was able to help remind me of what to do, so I joined the two parts together that evening.
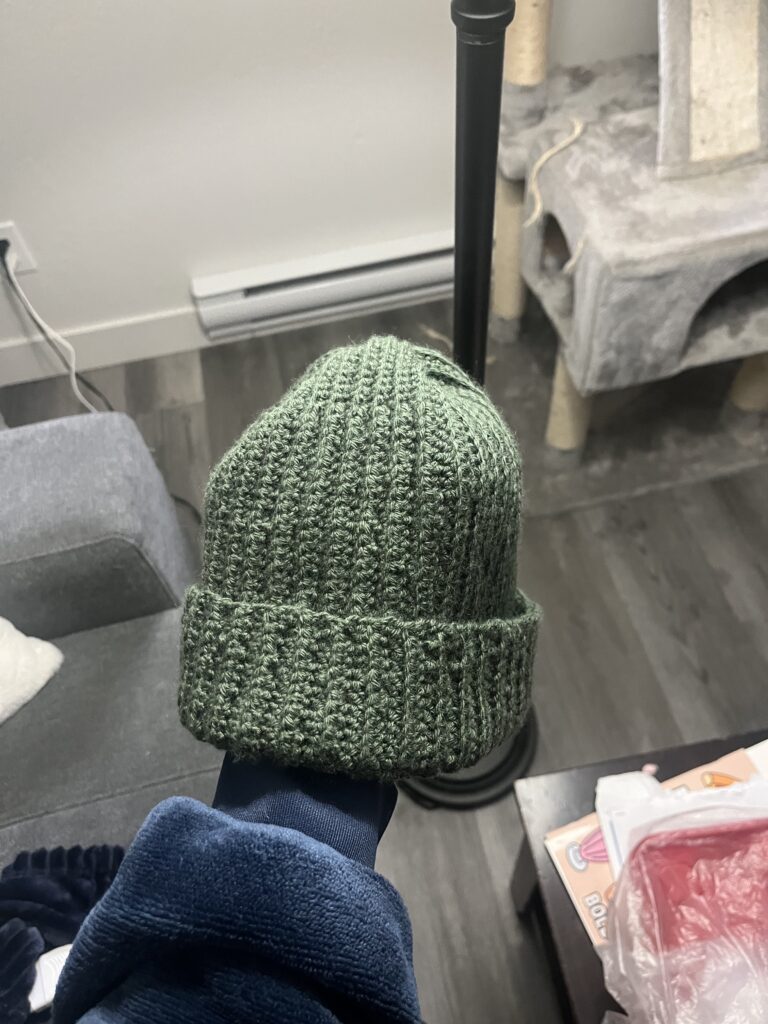
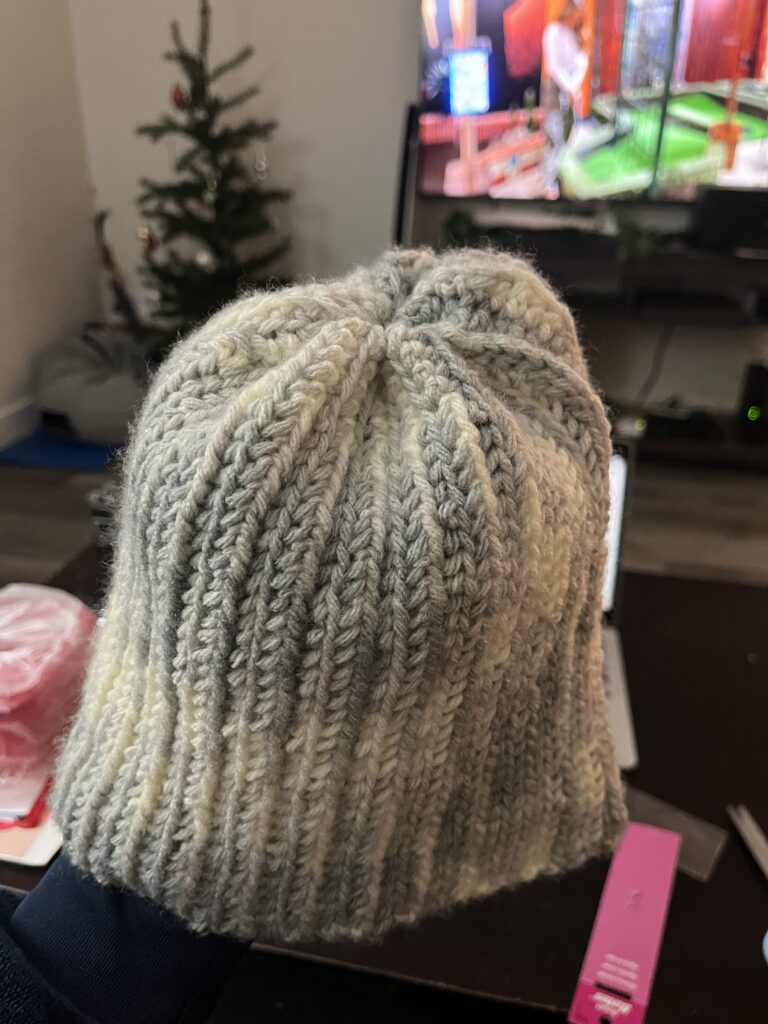
Fast forward to the next morning, the 23rd, aka the day the toque needed to be completed by (cutting it a little close). I woke up early to make sure I had time to get the toque done in time butttt when I went to do the final step: cinching the top together, I realized I had joined the two sides the wrong way and my string was on the opposite side that it needed to be on to cinch up the top. So I had to completely unravel the stitches I made on Saturday evening and do that part all over again, good practice! I re did it and stitched up the top with no more incidents. Here’s what it looked like all done!!
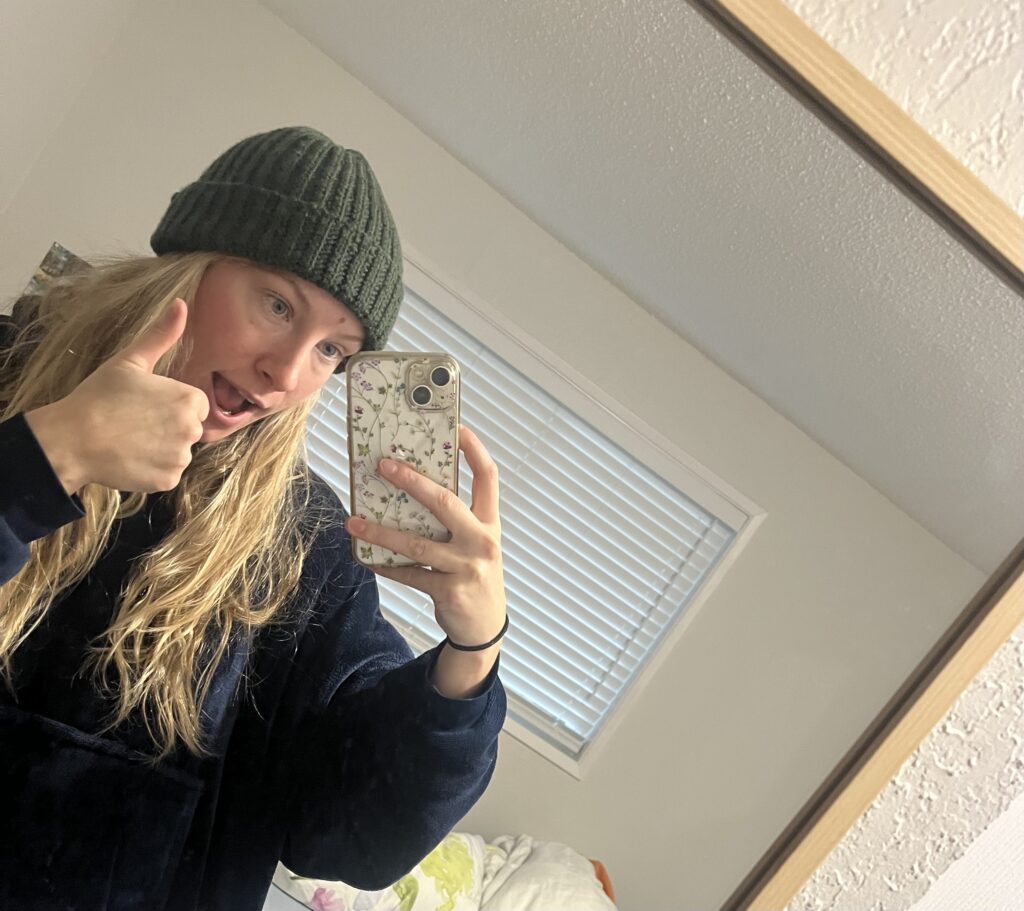
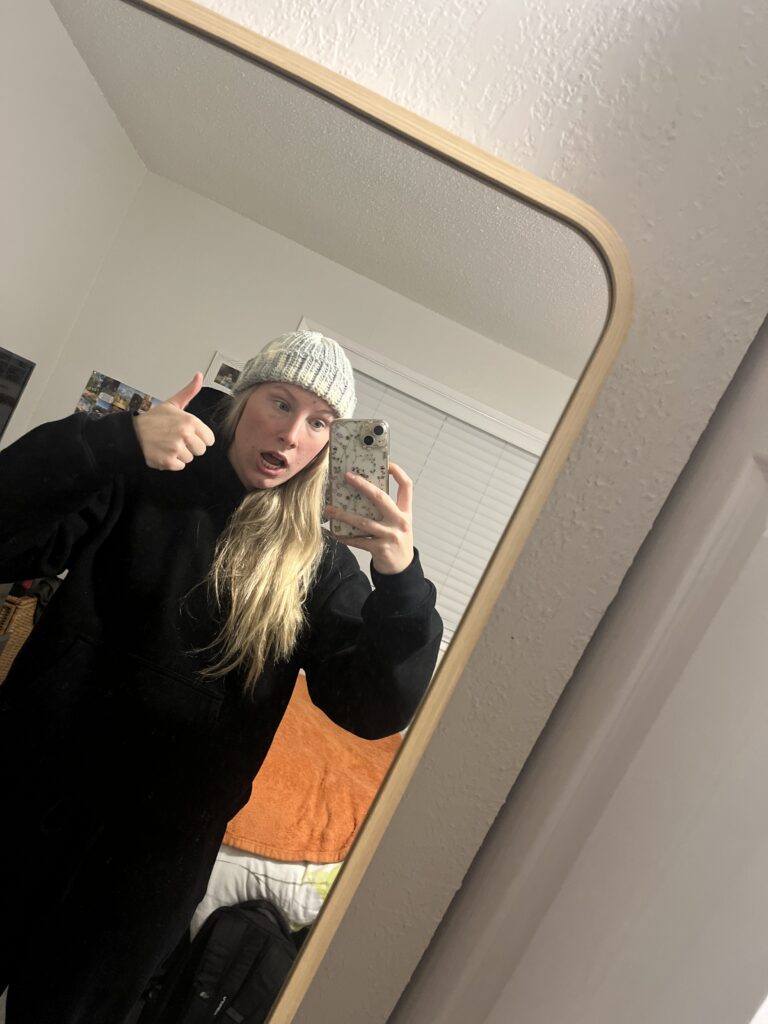
And here’s what it looked like on me, you’ve gotta test out the product before you give it away right??
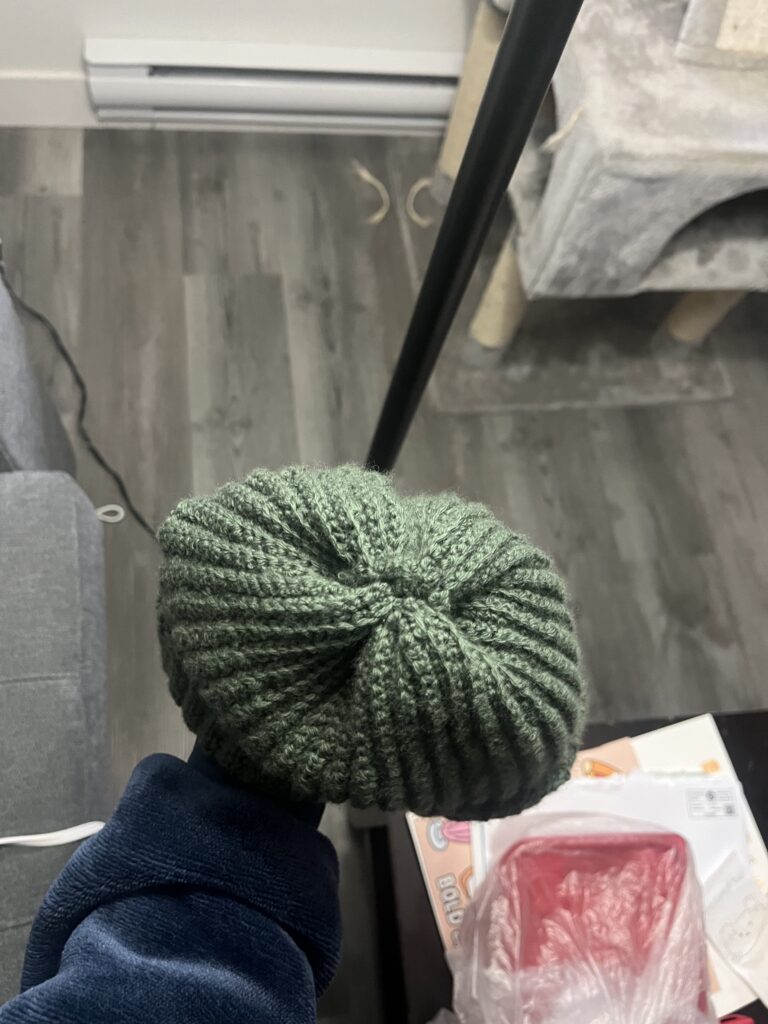
I’m really happy how it turned out. I think the stitches look pretty uniform and the cinching looks much better than last time. I can really see my improvements in comparison to the last toque and I’m proud! I gave it to the recipient and they were really happy with it, it fit them well which I was a bit worried about at the start.
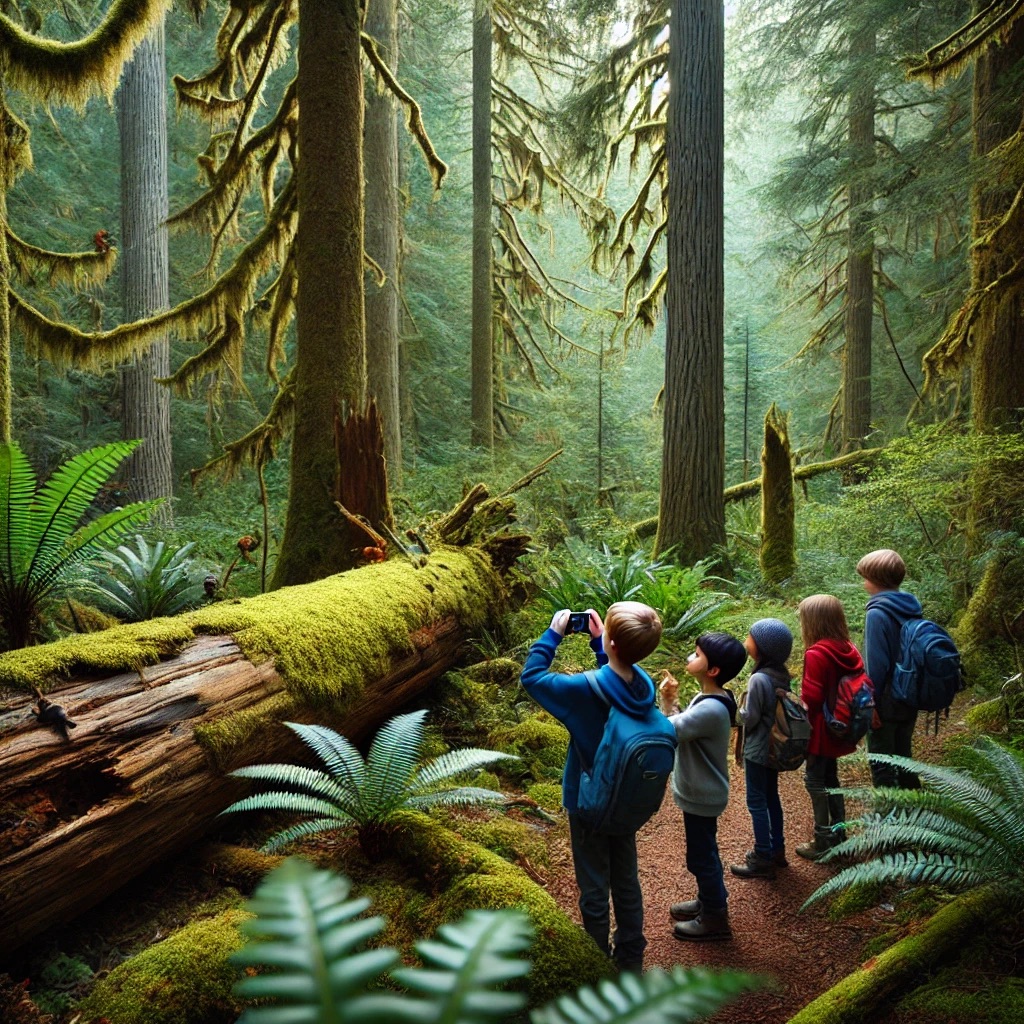
I inputted: “can you make me an image of students outside in a forest looking around using their phones to help?” into Chat GPT to get a photo for this blog entry and this is the image I got:
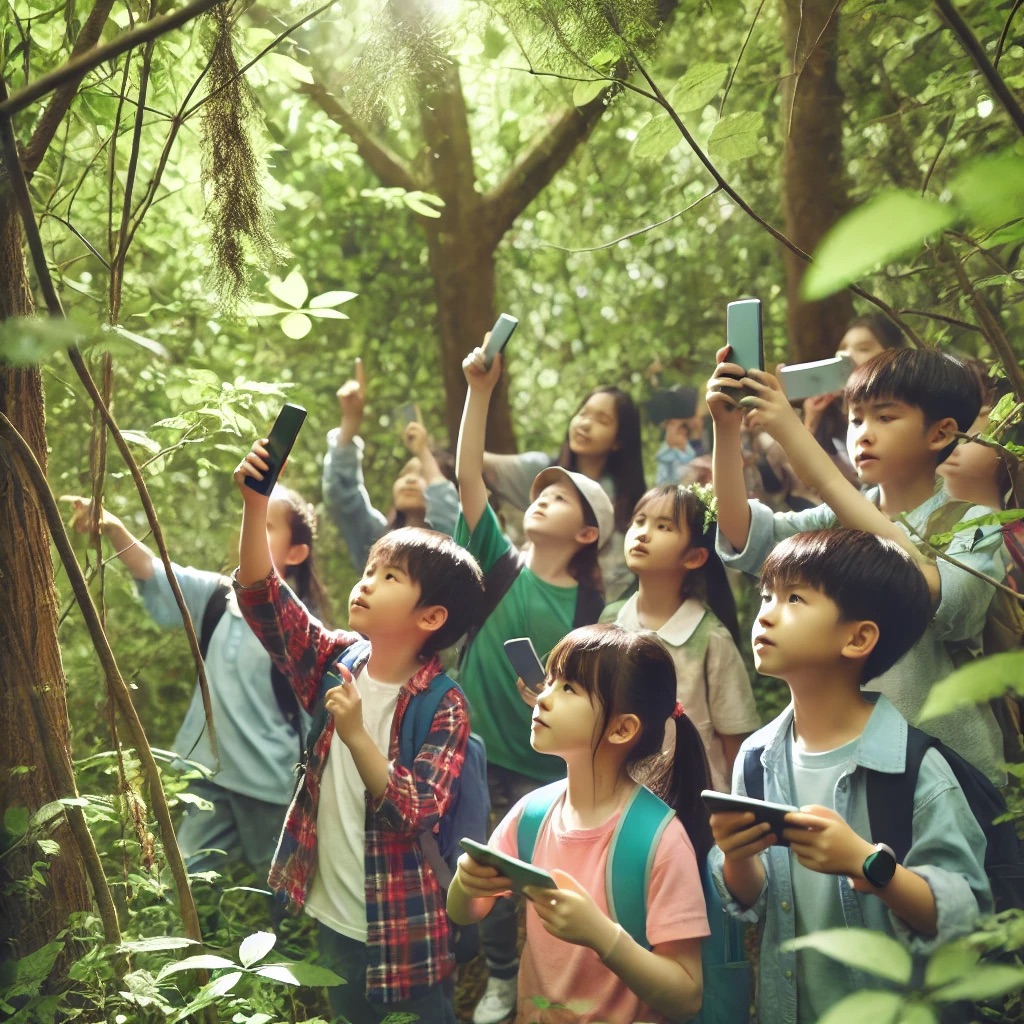
I didn’t really like how crowded the image was or that the forest wasn’t really local, so I then asked Halle to ask Chat on her computer this: “can you make me an image of 4 kids in a forest (in Pacific northwest) with one kid using their phone to take pictures” and she got this image below:
Anywaysss today we had a speaker come in and speak about how technology can be integrated into outdoor education. She showed a bunch of apps that she likes to use in her own class including:
iNaturalist
Merlin
Moon pro (I think I’ll be teaching a unit in my practicum on the moon and sun, so this could be fun to use with the students and check in on the moon phase everyday, it has good visuals and data)
Skyview
Leafsnap
Chatterpix
Bookcreator
She also discussed how you can use google earth to show students where a certain area is that they are learning about. It was also mentioned how google maps can be used to go back in time a bit to see how an area has changed, either where the school is, or a neighbourhood. The speaker also talked about how she’s used google maps to take a picture of an area, say Victoria, and then printed it off, given it to students, and had them find the Indigenous names for the areas and write them on the map. I think these are really good ideas because they help students understand the idea that the land changes overtime and to develop temporal awareness. I also think it helps students understand what has come before and the history of the area, allowing them to engage with topics like colonization.
We didn’t do the scavenger hunt with QR codes that was planned because it was raining which was too bad but I think this is a really good idea that students would really enjoy. It gets them outside and moving, while also engaging with the educational content.
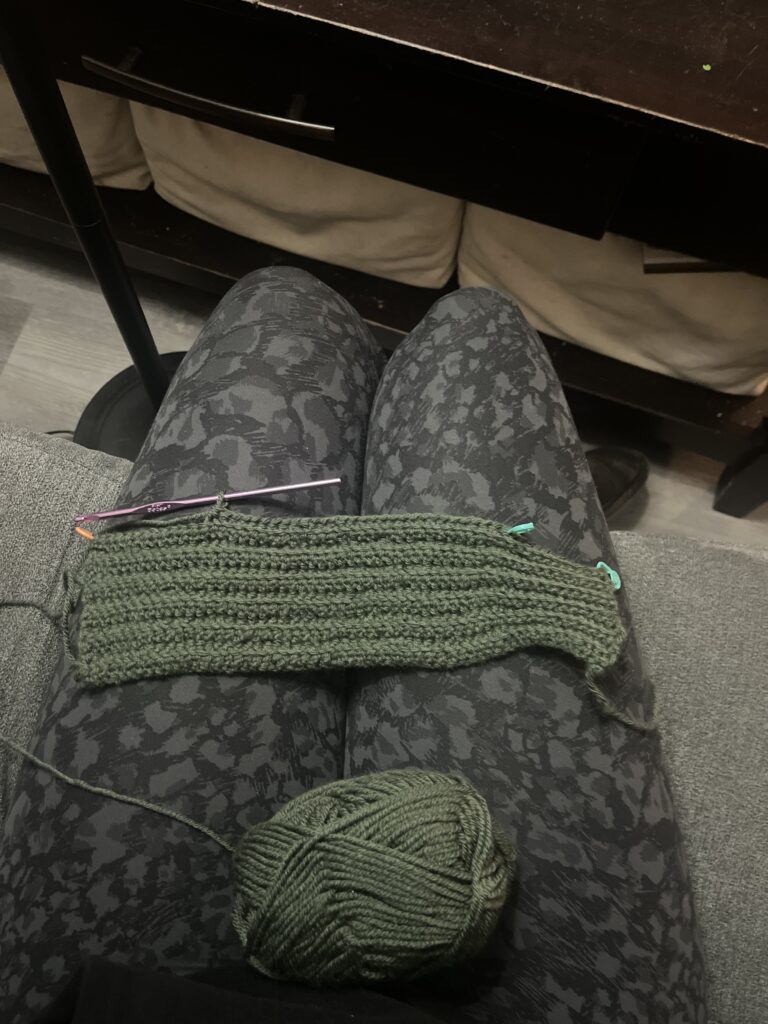
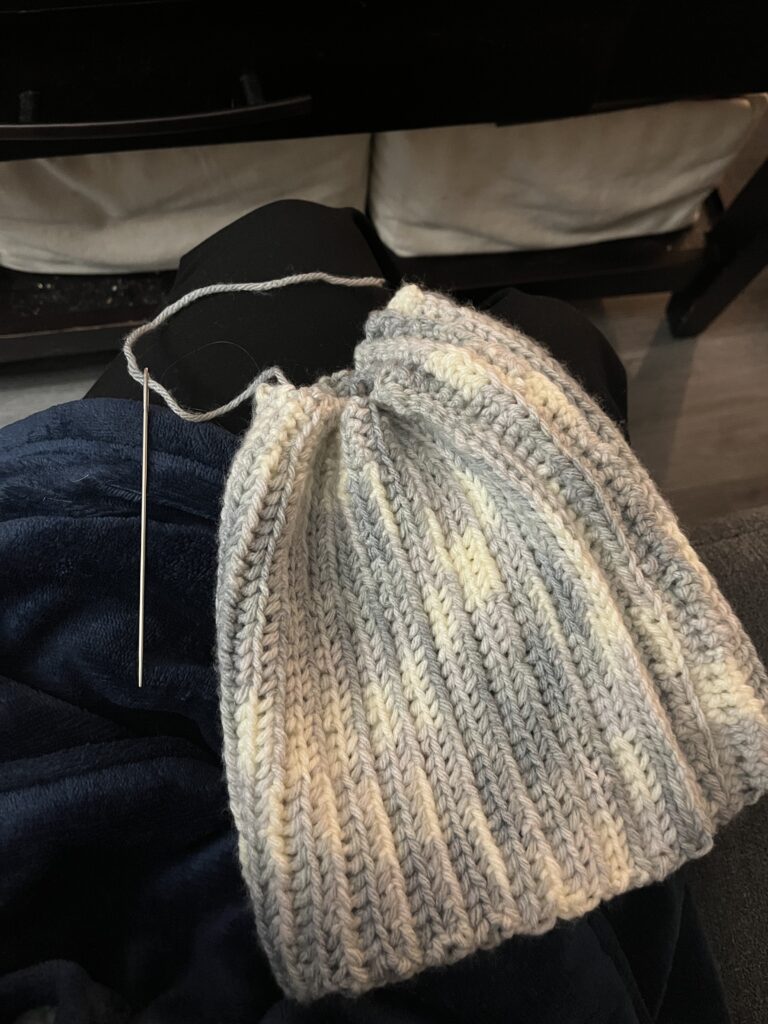
This where I am currently at with toque number 2. I am super proud of how it is coming together, I think the lines look really neat and I have been consistently counting my stitches! If I was making this toque for me, I’d already be ready to move on to the final assembly, however, I’m making this for someone with a big old noggin and so I still need to keep crocheting more (ugh-I’m getting tired of green).
Right now I’m at a slight road bump, I assumed that this would take me two skeins of yarn (100 grams), however as a mentioned it is still too small and I’m all out of yarn *GASP*. Soooo this week I have to go back to the yarn store and pray that they have more of this yarn in stock, if not things are going to get interesting. The toque needs to be completely finished by next Sunday, so still on schedule at the moment, hoping this current lack of yarn doesn’t throw a wrench in the timeline.
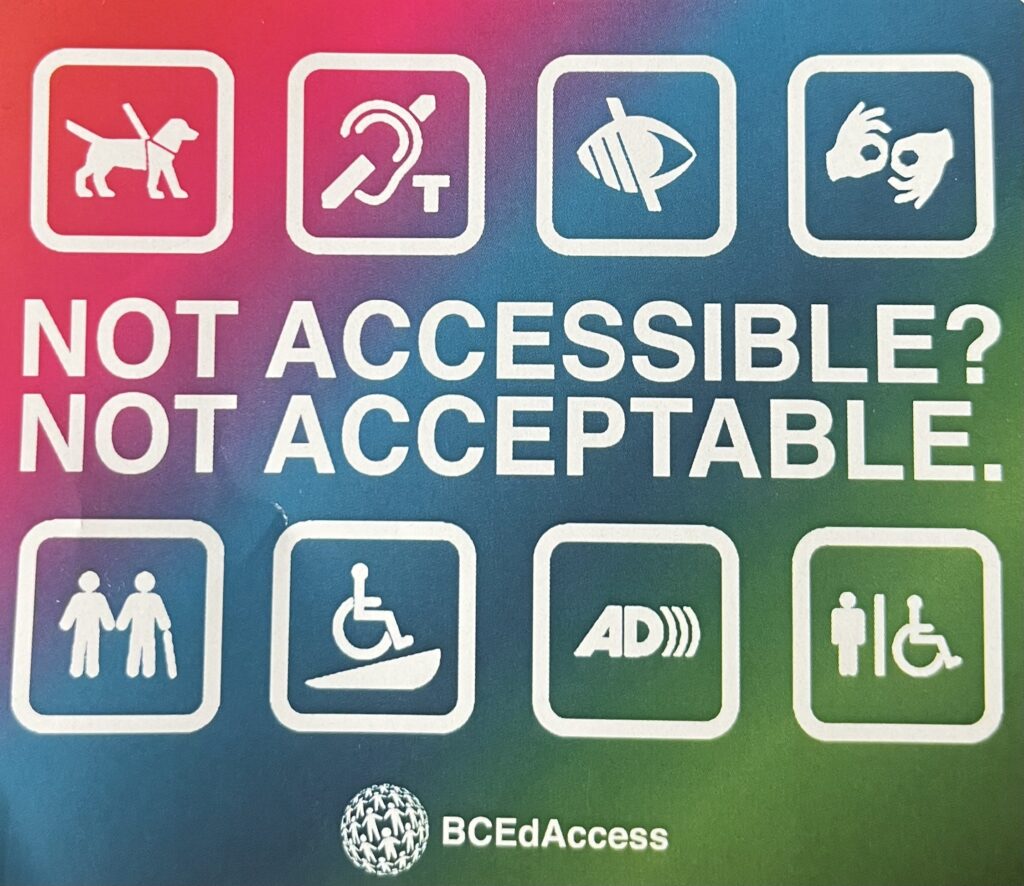
Yesterday in class we had two speakers join us from BCEd access to talk about tech and inclusion.
They discussed how important IEP’s are for students to get the support they need at school but that getting an IEP only happens once a student can be assessed, which often takes incredibly long.
They also discussed the term ableism, in other words, the idea that people with disabilities need fixing. As a teacher, being aware of the way in which we treat our students with disabilities is so important to make sure they feel welcome and understood within the classroom. We should never assume that the goal is for a student to be independent of the use of technology or other aids and we should make sure that students with designations are not being excluded from activities or opportunities. The speakers also noted that we as teachers can help our students by making sure we fully read the IEP’s as well as ask the student and family how to best meet the students needs.
Some other tools they mentioned to help students with designations where to:
-use movement breaks
-foster peer support
-play to the students strengths and interests
-look for available district and provincial resources
Today’s topic was AI use in education and so I used Gentype to create a title for todays’ post, using the prompt “pencils and kittens”. This is what it conjured up!
Not too bad if I do say so myself. I think this tool could be fun to use to make a title page for a slideshow or something like that to get the students laughing or intrigued before beginning a lesson.
It was mentioned in todays talk that in 1993 the internet became accessible to non-experts and in 2023 AI became accessible to non-experts. It’s crazy to me how much has changed in so little time. The fact that the internet and AI have both become such engrained parts of our day-to-day life in such a short period is crazy. For example, we don’t even realize how much AI is a part of our technology today. It’s in everything from Netflix, to Spotify, to google, to Siri, and beyond and it’s only going to continue to be more engrained in our day-to-day life.
While I use AI fairly regularly for idea generation for lesson plans, to better word emails, and such, I had no idea that AI could be used for things like podcasts, videos, or songs. We listened to a bit of a podcast in class and the voices and dialogue sounded so real, I would have never known that it wasn’t real people talking. I thought it would be fun to try this on my own and see if AI could make a decent song. I used Riffusion and my input was “a country song about teachers learning how to use technology in the classroom”. This is what it came up with in less than a minute, have a listen!
It’s shockingly good. I’m excited to use this in the future, I think you could make funny or educational songs for your students with this!
AI can be so fun and such a great way to engage students or encourage students to be creative. With that said, we also talked about the downfalls of AI which are incredibly important to know as a user, but also to teach to our students so they can make informed decisions. Some of the downfalls we discussed were that AI:
can provide false and misleading information
is often biased (based a lot on western resources) which can then reinforce stereotypes
produces tonnes of carbon emissions
uses huge quantities of water (in a time where water resources are only getting scarcer)
has no regulations (policies have not caught up with the tech)
may be infringing on copyright
promote a culture of mistrust between students and teachers (not believing that students did work themselves)
Overall, AI is another tool in tech that we as users need to use with care. Teaching students how to use AI, how to detect AI images/audio/writing, and the costs and benefits of it, can allow students to make informed decisions on when and how to use it.
I’ve been working away on my new toque and its going pretty good so far!
Now that I’ve gotten a bit further in crocheting this toque, it is easier to see where the single and double stitches are. I’m quite happy with how it is looking and I’ve had no major issues. The goal is to have this toque completed by the 23rd, so I need to pick up the pace in the next two weeks and put aside some serious time to work on this thing. I plan to spend at least a little time each day working on it.
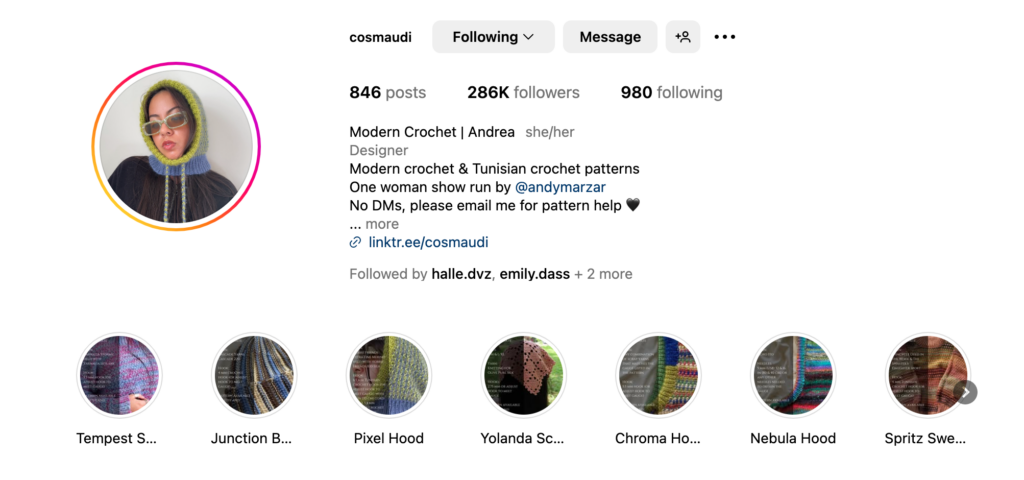
On a slightly separate note, I have also started to follow a couple instagram accounts for future inspiration. It’s been super cool to see all the interesting things you can make with crochet. One page I like in particular is @cosmaudi , here’s a little preview of her page if you wanted to search her up.
Not much more to say right now. More updates coming soon.
As mentioned in a previous post, I wanted to make another toque, using what I learned from the first one to improve in several ways. The ways I aim to improve are:
use a better quality yarn (not only acrylic)
count my stitches
use stitch markers right from the start
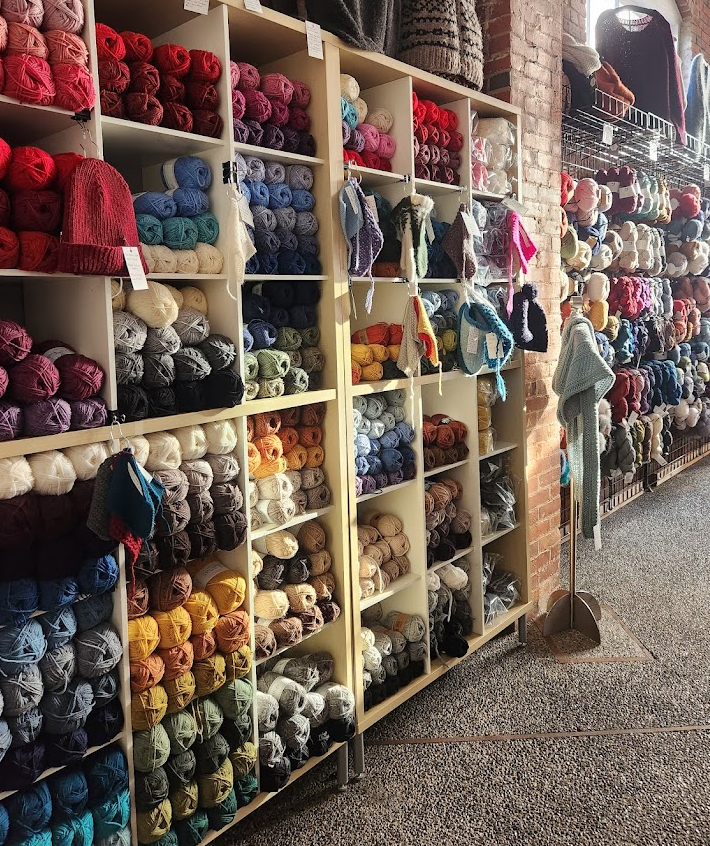
To start I went to an actual yarn store (instead of just Michaels). I asked some friends where some good stores are and one of the suggested stores was Beehive Wool Shop. They had so many different colours and types of yarn, it was super cool!
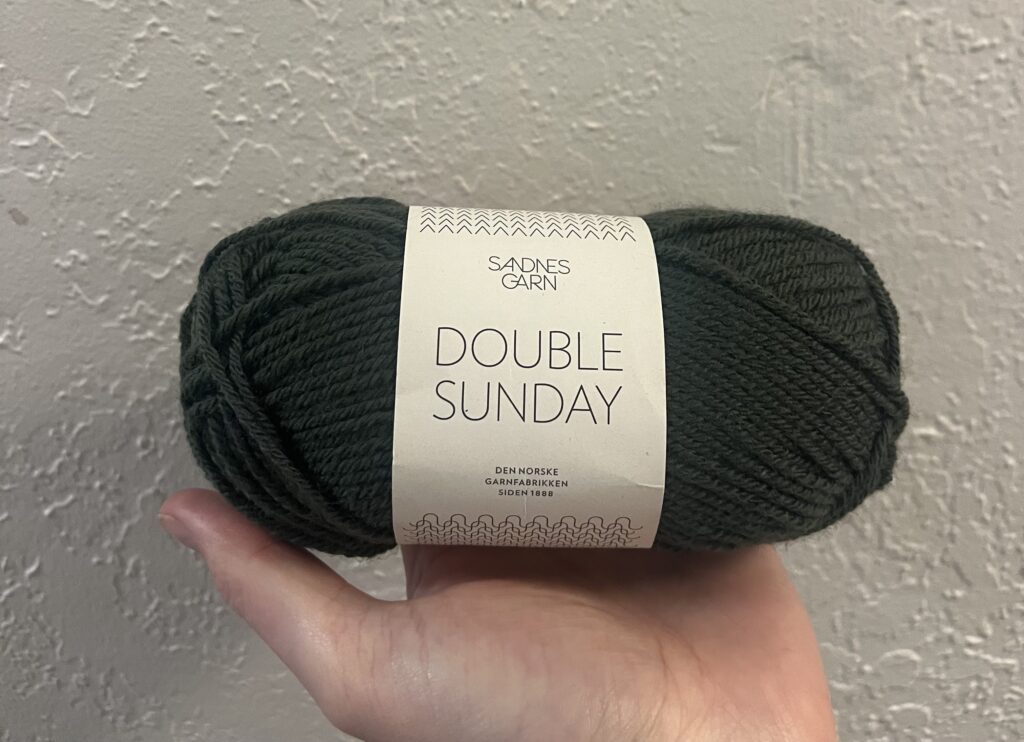
I ended up picking this really nice green shade that was 100% merino wool. Marino wool is a lot softer than normal wool and is better at moisture wicking than acrylic (I’ve been told). Because of all its wonderful qualities it is also unfortunately more expensive – these rounds were about $13 each. I bought two rounds because I need around 100 grams to make my toque.
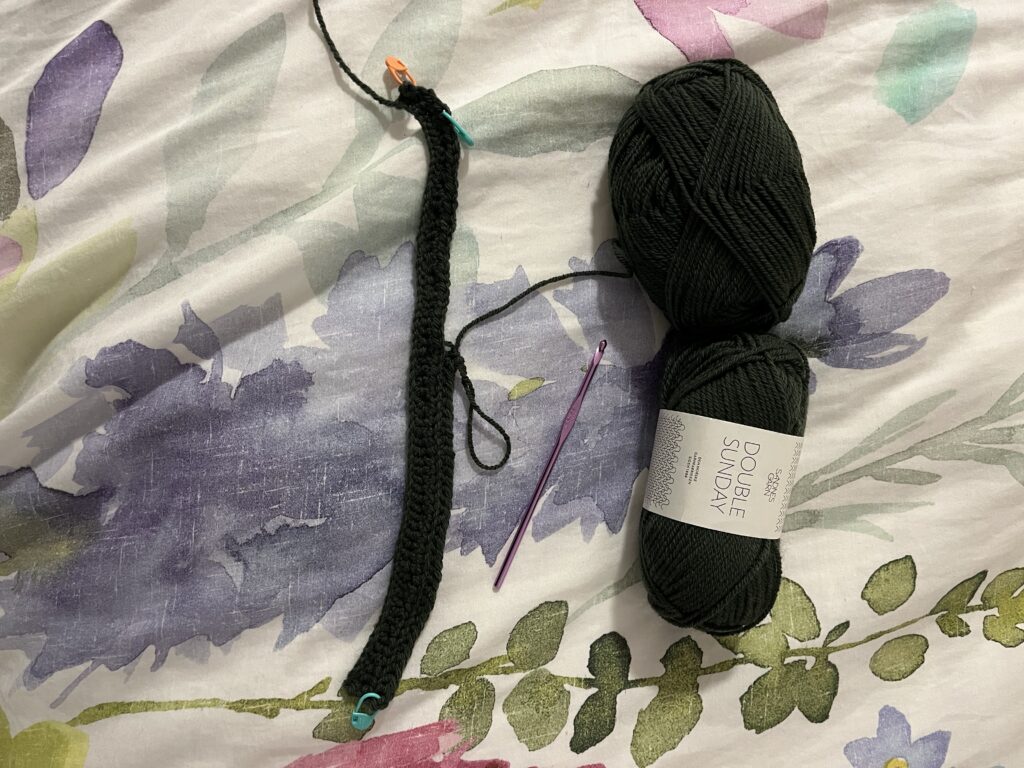
I then got started making it!
Note the stitch markers already in use:)
Because I’m not making this toque for me, I’m making it as a gift, I had to adjust the number of overall stitches to fit a bigger head, as well as the number of single stitches. It’s hard to see right now but it’ll be clearer as I get more rows done. As well, because this yarn is thinner than my last, I had to switch crochet hooks. I am now using this pretty purple one as seen in the photo which is a 4mm hook.
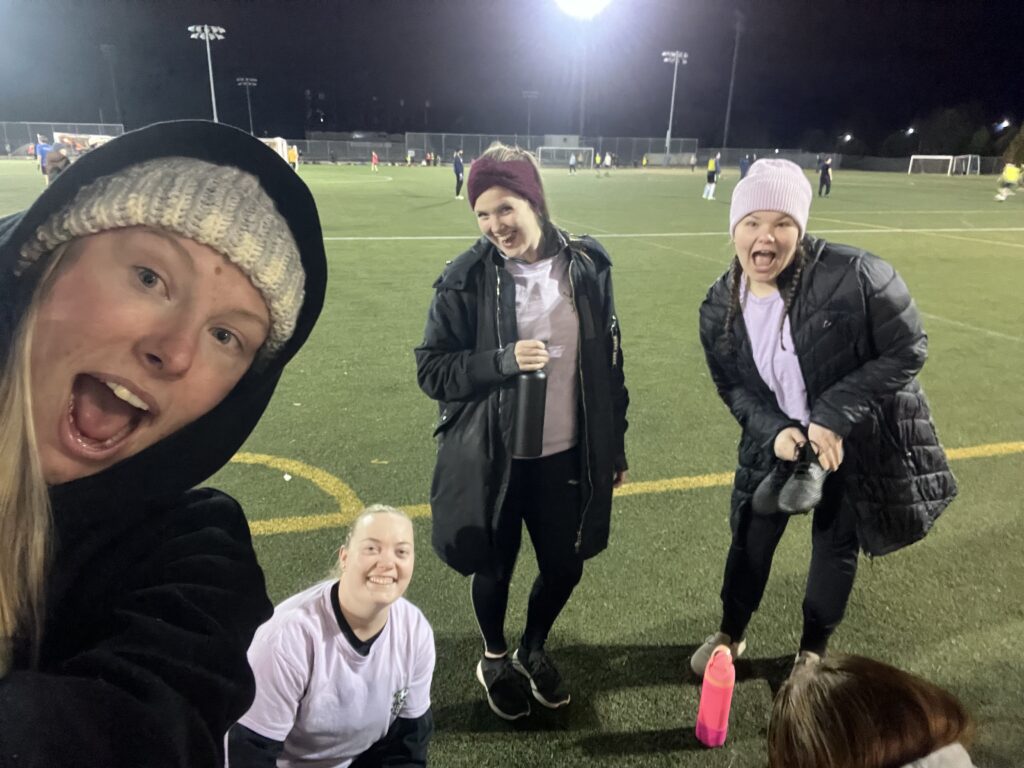
Since my toque was done being crocheted, the final step was to test it out! Yesterday we had our cohort’s intramural soccer game of the week (at 10pm yuck) which was the perfect opportunity to wear it there, so I could be warm before we started playing. Here’s some pictures of it that I captured, featuring some members of the team!
The toque successfully kept my very warm. I did find that it got a bit itchy after a while but I think this is because I used fairly cheap acrylic yarn, I plan to get a better quality of yarn for my next toque. Overall, a success!
This week I worked on finishing up my toque. The first thing I had to do was crochet together the two ends to make a tube. Then I went out and bought a knitting needle to bunch together the top. The bunching was quite a quick process, and then I just used the needle to sew together the top a bit to make sure there were no small holes where everything came together. And ta daaaaa it’s done!! I made my first ever crochet project! (reflection below)
While I am super proud of myself for making the toque, there are some flaws with it. I am planning to start on another toque, using what I have learned to improve the second time around. The main thing is making sure I use stitch markers right from the beginning and counting my stitch rows every so often. Doing both these things will help make sure that my rows are all the exact same length. When it came time to bunch this toque together, it was challenging and it looks a bit lumpy at the top because my first several stitch rows are around 6-7 stitches more. Not only that, but this resulted in my toque being much less deep than I had intended. While it still fits, the brim is not as wide as I had hoped and it sits higher up on my head than intended. Thus, counting my stitches and using stitch markers will be incredibly beneficial. I am excited to use what I have learned from making this one to make an even better toque!
Tune in next week for an update on how using my toque (in real day to day life!) goes and the following weeks to see the start of my next toque project.